Wednesday, April 11, 2012

Chicken Shak

Welcome back to The Shak.


I have been busy with other things since I built the chicken's nest boxes. Today, I got around to building roosts. It was an easy though somewhat time consuming process.
The coop before I began work on the roost.
After collecting some scrap lumber from the barns, I cut two pieces of wood for the rear, longer legs. These I cut to the height of the bottom of the nest boxes. This puts the highest roost just above the level of the lower nest box openings.


I cut two other pieces for the front, shorter legs. The length of each was half the piece of wood I cut. They amounted to just over 10" each. It was not important to me that they be any specific length.


Then I cut two pieces with the appropriate angles on each end to connect one longer leg and one smaller leg. These I screwed together with biscuits I cut from pieces of scrap 1" x 4" pine boards. This gave me the two end pieces I needed to connect the roosts across.
One of two end pieces. Roost poles will be nailed to these.
I recycled the poles I used for the roosts from the old chicken coop on the opposite end of the same building that houses the new coop and rabbit cages. This building is over one hundred and twenty five years old. A wall of horizontal logs divides the old coop from the current coop and rabbit area. The problem with the old coop is that one corner of the building is pulling apart. The work it would have taken to repair the building and use the old coop was prohibitive.
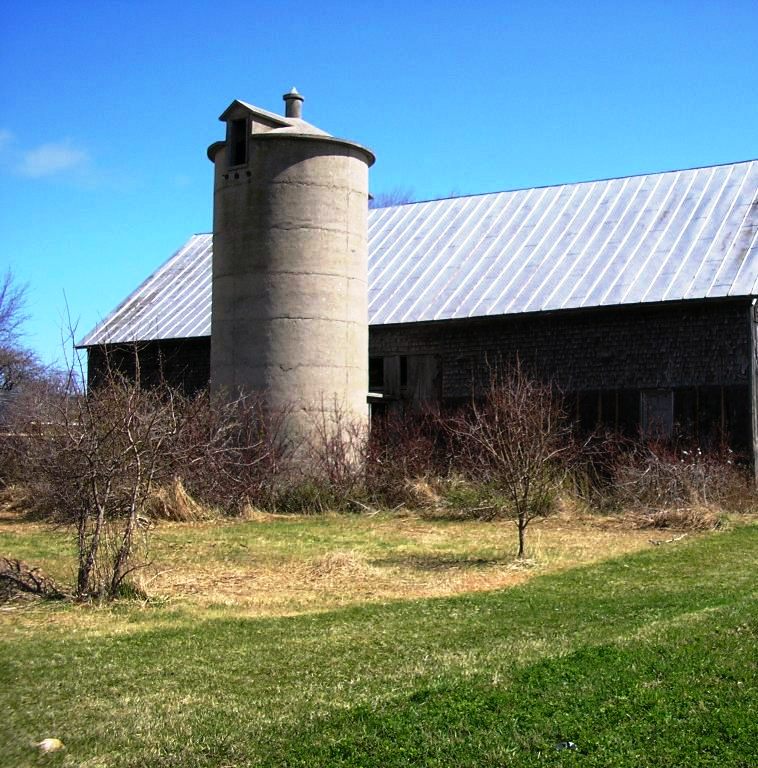
You can see where the stone foundation eroded and the building shifted. The logs are pulling apart at the corner and the front is buckling. I welcome suggestions about fixing this. As you can see, this picture was taken even before I began fixing the fence.
I laid the roosts across the ends I built, nailing them together 10" apart. It is rare that I use nails. In this case I made an exception.
Legs and roost poles in place. I think the chickens would have been outside in the courtyard had I not been tearing up their coop. They are inquisitive creatures.
Having a standing structure, I wrapped the outside vertical walls with 16ga. 2" x 4" wire. I only chose this because I had enough lying around to complete the job. From underneath, I stapled chicken wire to the roosts. This done, the chickens will not be able to access the area below the roosts by any means.


Because the chickens will be roosting there, their droppings will collect on the floor below the roosts. I do not want them playing in or eating poop. Can't blame a guy for that.


I used chicken wire under the roosts in case they would happen to lay eggs on the roost. This will keep the eggs from dropping through to the ground and breaking while allowing poop to drop to the floor.
No sooner finished than used. Yet another success!
After positioning the roost, which can be moved for cleaning, I removed all bedding from the coop, spread new bedding, re-positioned the feeder and waterer and rehung the heat lamp to a few feet off the lower end of the roost. At this point, the chickens are probably fine without the lamp, but there is a freeze warning tonight and with all the changes I made to their environment today, I did not want to stress them.
Done!
With that, I cleaned up my messes and headed for the shower. Then I ate the ice cream and strawberries I had so been looking forward to.


Thanks for stopping. Come again soon.

Monday, April 9, 2012

Shak Rabbits

Welcome back to The Shak.


I hung the second row of cages. It was a pretty simple process. First, I bent wire into hooks. These hooks I hung through holes I drilled in the long ends of each L bracket. The hooks not only hold the cages below, but also secure the cages above from sliding off the brackets.


From each hook, four per cage, I hung a 20" piece of chain. I ran the chain through the inside corners of the hanging cages and secured if with wire under the cage bottom. If you recall my post on building the cages, I used a sturdier wire for the cage floors than sides or tops. It only makes sense to suspend the cages from their strongest points. These points are the corners of the floors.


With the cages hung, I added the feeders, waterers and rabbits. I removed all eight rabbits from the first litter from mother rabbits cage, putting four in each of two new cages. Their eating pellets and drinking from waterers indicates that mom is not as important as she once was.
Two rows of cages in place. Two cages furnished with feeders and waterers and each inhabited by four rabbits.
I put four in each cage so they could benefit by each other's warmth while at the same time reduce by more than half the number of mouths at each feeder and waterer. I then divided the thirteen rabbits from the second litter, giving the doe of the first litter six of the second does kits to raise. Now, one has six and the other seven kits. Much less of a workload on the second doe.
I also installed three 20" 20W fluorescent lights. Two of which can be seen here. 
I am still working out the details of the "plumbing" system between the rows of cages. That is soon to be completed. I cannot put rabbits in the top cages until I can keep their droppings and urine from getting on the rabbits in the cages below.


The first doe has a date scheduled with the buck tomorrow. She does not know it yet; however, twenty-eight or so days later, more kits. The buck has been waiting a long time for this. One might say it is what he lives for.


You may also have noticed I said eight rabbits not nine rabbits in the first litter. I culled the runt of the litter Saturday night. I found the poor little fella in a pile in the middle of the cage. Breathing, but apparently unable to muster the strength for anything else.


I weighed my options with regard to the little fur ball and decided it's time had come. I had not planned on killing so small a rabbit and it was no fun doing so. In the world of rabbit breeding, however, unlike that of homo sapiens, there is no moral concern with the timely elimination of the weak and nonviable. The only moral concern would be in keeping what should be dead and at peace alive and suffering. Hint, hint United States "medical/legal" industry.


Thanks for stopping. Come again soon.

Shakstead

Welcome back to The Shak.


Over the past week, I have been working on a variety of projects. The courtyard fence is complete. I have also been reclaiming some lawn and pruning apple trees. These last two are what I would like to show you in this post.


One day, I cut the tall grass in what amounts to a triangle between the rabbit/chicken barn, the big barn and the machine shed. Once upon a time, this had all been kept as lawn. Since that time, grass, weeds, red twig dogwood and rogue apple trees took over.
You get the idea.
I have yet to remove the bramble along the barn and silo.
I chose to try turning two rogue apple trees into producers. No one is quite sure how the apple trees got there. Birds are a good bet. But, shielded for years by tall grass, they grew. There was no sign of their ever having been pruned. Because there was so much to them, I thought it worth a shot to prune them.
The center tree is dead. The ladder is eight feet tall.
Now they look like apple trees should. Time will tell if my efforts draw any reward.
There is not much left; however,
 that which is now has a chance.
I also reclaimed about a quarter of an acre of lawn in the front yard. Between tree pruning, tree removal and cutting the tall grass, that is where I spent last Friday. I have no pictures of that to show you. I forgot to take before pictures. Now there is nothing to which to compare after pictures; so, I did not bother with either.


Thanks for stopping. Come again soon.