
My keyboard is dust covered. Between rain, wind, cold, teaching and tutoring, I had no occasion to use it. I will not bore you with reports of feeding and cleaning. Though I assure you these things happen. Only after having accomplished something do I blog. Here is what I accomplished.
I left off last time with three of the six new cages inhabited. The top three remained unusable due to a lack of sanitation. That problem has been solved. All six cages are now in play.
 |
| As I left things on April 9th. Three of six cages were habitable. |
I will most likely add a "gutter" and "downspout" in the near future. I needed the cages to function as cages. I needed them now. Aesthetics will wait.
My first step was to dismantle everything I had built. All the pieces will still be used, but I had to make certain changes. I welded two small brackets with a 5/16" hole drilled in each to the original L brackets. These additional brackets hold the chains suspending the lower cage. They also serve to widen the area between the chains allowing the steel roofing to sit comfortably between them, thus covering the entirety of the lower cage.
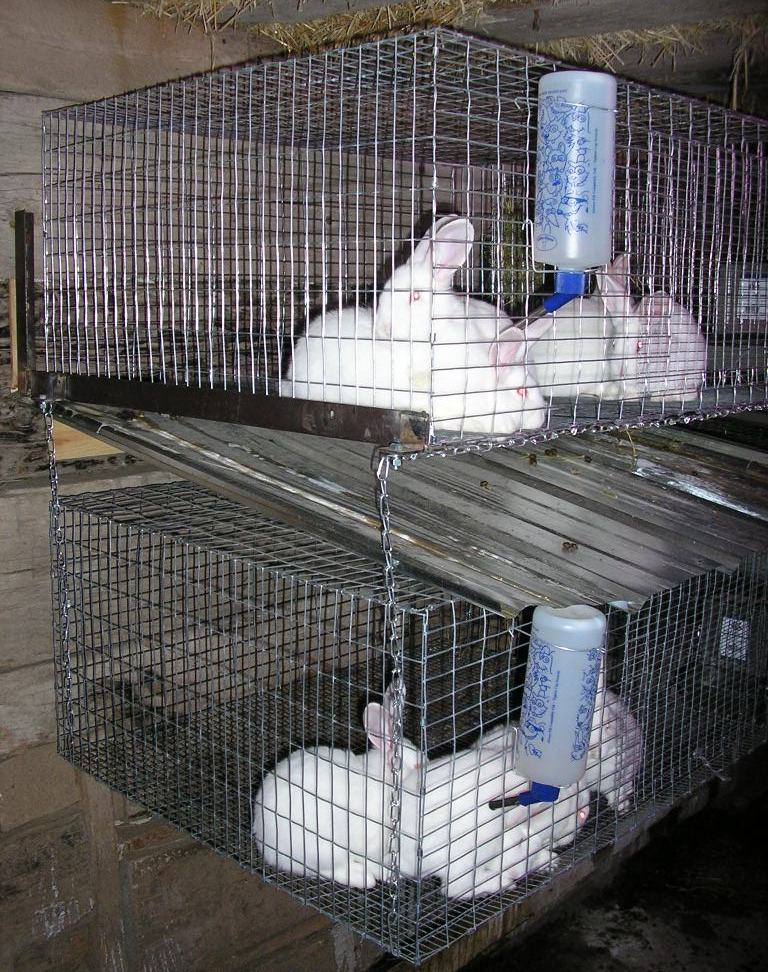 |
| You can clearly see the steel roofing sloping forward and overhanging the lower cage in this picture of the first finished duo. |
 |
| Front picture of the third duo of cages. Notice the tensioning chain running below the top cage and between the brackets. |
 |
| This is a detail picture of the right bracket of the final pair. You can see both suspension brackets, hardware and chains. The chain going off to the left is the tensioning chain to which the bottom front of the top cage is j-clipped. |
 |
| Rather a blurry picture; however, it shows the clip which is what I wanted you to see. |
 |
| A clip and chain fixed between the bracket and the bottom of the lower cage. |
 |
| Here you see the bracket with chain, the steel roofing at its angle and the pine board to which it is screwed. |
To mitigate the swinging inevitable when using chain, I also j-clipped each suspension chain as high up on the side of the cage as space and my patience allowed. The lack of space obviated any pretense to perfection.
With the first two cages done, I moved on to the second and finally the third duo. As is so often the case, the first pair took longer than the second and third pairs combined.
Having installed and filled a feeder and a waterer in each of the top cages, the second doe's bunnies now have a place to call home if only for a short time.
 |
| Six serviceable cages. The closest cage pair houses the first doe's progeny. The rest hold that of the second doe. That is a total of twenty-one bunnies. |
I will cover all this very soon. When I share with you all the reasons you should be mixing some rabbit into your diet and how I can help you with that.
Thanks for stopping. Come again soon.